7th Grade Distance Learning Projects
Project #4: Found Oject Color Wheel Due May 27
Project #3: Art Sandwich Critique Due May 19
Watch the video to see what to do for this next project!
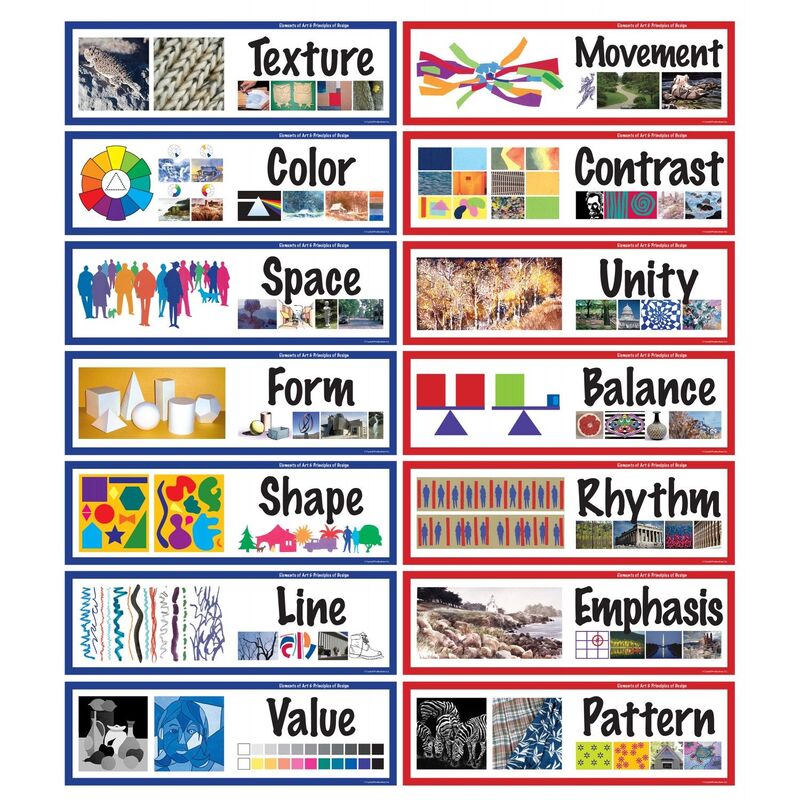
Use the Elements and Principles of Art to help you think of some helpful and thoughtful things to write about your classmates artwork.
7th Grade: 3D Cubes in One Point Perspective Slideshow
Project #2: Scholastic Art Magazine Due May 5
Project #1: Practice One-Point Perspective: make cubes
|
Hello 7th graders! Last I heard from Miss Kaufmann she had introduced you to One-Point Perspective. This is a drawing method that shows how things appear to get smaller as they get further away, converging (or coming together) towards a single 'vanishing point' on the horizon line. To practice this idea we will make cubes that all recede back to the same vanishing point. There is only ONE vanishing point in ONE point perspective.
The you tube video below shows what you will need to do. At the very end...about minute 3:25...she adds a bit (making it see through) that you don't need to worry about but can try if you like! Key vocabulary to know before watching the video: One Point Perspective: a drawing method that shows how things appear to get smaller as they get further away, converging towards a single 'vanishing point' on the horizon line. Horizon line: a line across the paper that creates the illusion where the sky meets the land. Vanishing Point: a spot on the horizon line that all the objects and other lines recede (or go back) to. Construction Lines: these are the lines that point back to the vanishing point. I sometimes call them receding lines. Parallel Lines: Lines that never meet and are always the same distance apart. Supplies you will need:
Step 1: Watch the video without stopping! Don't start trying to draw until you have watched the whole video at least once. Step 2: Get your supplies ready if you haven't already. If you don't have a ruler use the side of a magazine or pencil or something else straight...unlike the video says YOU MUST USE A RULER or STRAIGHT EDGE. Step 3: USE THE RULER to draw a horizon line across the center of your paper. Put a vanishing point on the line near the center of the paper. Step 4: USE THE RULER to draw the 3 squares as the video shows. One above the line, one on the line, one below the line. Step 5: USE THE RULER to draw the construction lines from the corners of the squares to the vanishing point. Draw these lines lightly. Step 6: USE THE RULER to draw the parallel lines to create the back edge of the cubes. You can also erase the construction lines that remain. Step 7: Now try to draw three more cubes that you put wherever you like on the same paper. Step 8: Look over the rubric (click on the button to the right to see it) and make sure you have done your best work and met the criteria. Then have your parent help you take a picture of your artwork. You can be in the picture too if you like :) and finally have your parent email the picture to me at [email protected] You can also email me at the same address with any questions you may have about the project. I can't wait to see what you come up with! Project Idea Credit: Mrs. Amy Werkman |
Watch this video if you want to hear the directions read aloud!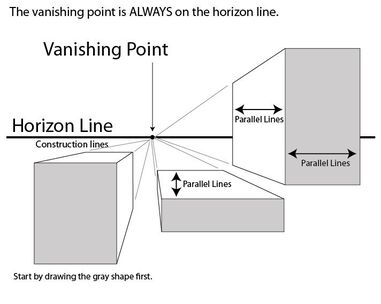
This picture labels the vocabulary and shows what you will be learning to draw!
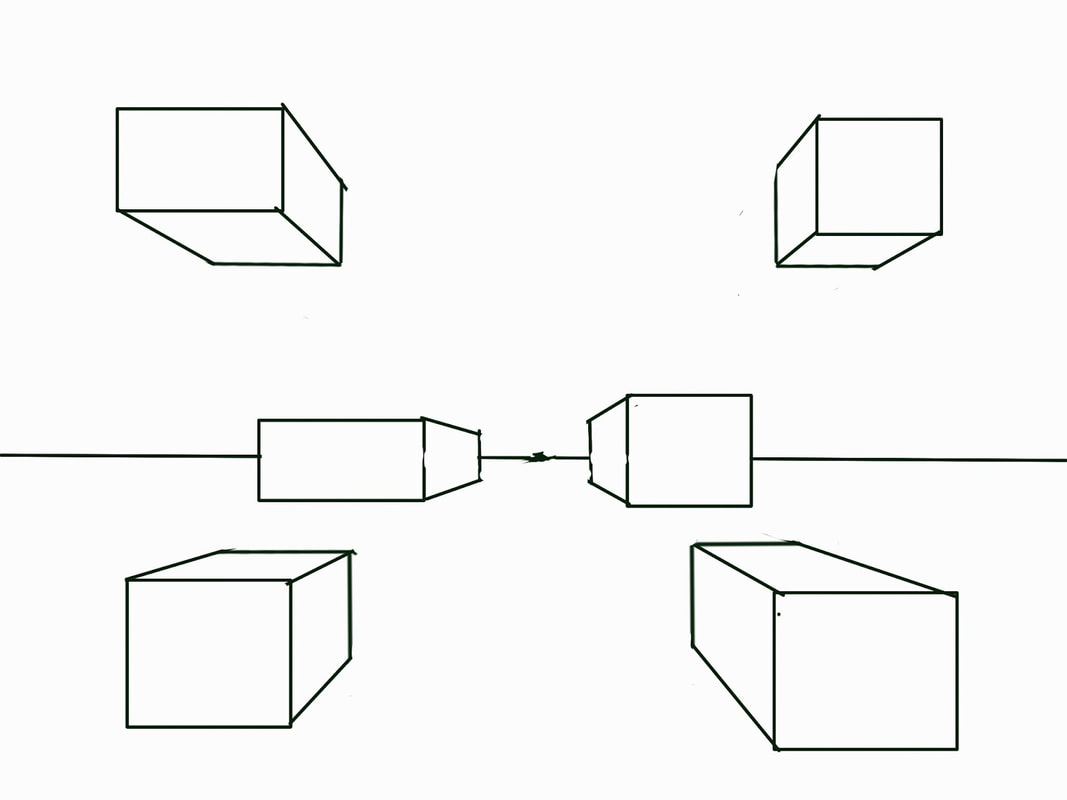
This an example of a completed project with 6 cubes.
|
